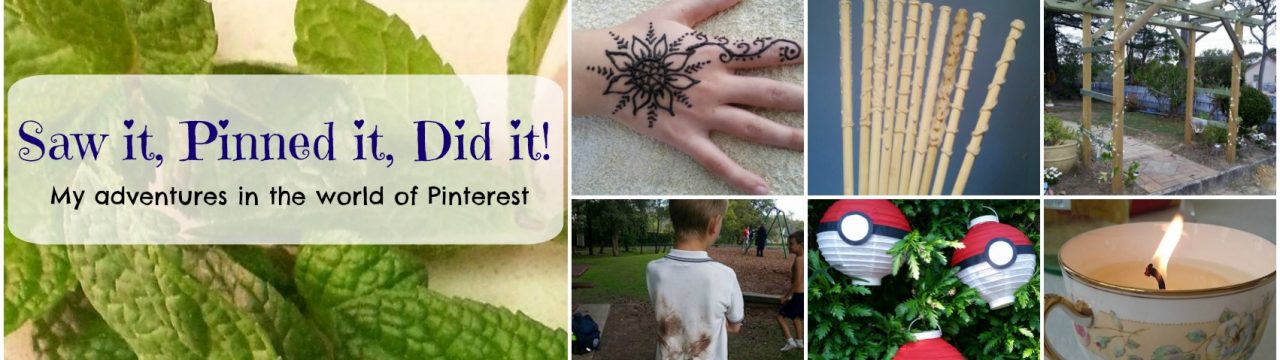
Recently my friend Deb shared on Facebook a link to DIY Moroccan lanterns. They looked so pretty! I immediately followed the link and pinned it to my Craft board.
Then I went looking for some jars so I could give it a try straight away. I found one that wasn’t too big, gave it a good wash, and got out the other things I would need.
 I used Aquadhere, a white glue that dries clear
Blue food colour (was the one I found first in the pantry!)
Various Relief Paints for glass painting. I already had these, but you should find them in a large craft store.
In a separate bowl I mixed roughly equal amounts of water and glue, then added a few drops of food colouring. Mix it thoroughly, then tip it into your glass jar and swirl it around until the inside is completely coated. If you use a brush it will leave streaks, so just swirl.

Tip the excess glue mix into another jar if you want to do another, or onto some newspaper. Leave the jar upside down on the newspaper until all the excess has drained out, then turn your jar back up the right way. I wiped out the bowl I mixed it all up in with paper towel. You don’t really want glue going down the sink.
Leave it to dry. At this stage it is opaque, but as the glue dries clear, you should be left with a lovely jewel-coloured glass…

The glue I used was quite old, and had lots of little lumps in it. These lumps caused all the little spots you can see above. It seems I also left the jar upside down for too long before I turned it back, as the glue dried leaving those big drips. I shared this on Instagram as a fail 😦
Even though it looks pretty bad, I decided to decorate it anyway. Perhaps that would hide the mess that was inside… I made the design up as I went along, adding bits where I thought they might look good.
I really wasn’t going to bother doing this again, but then I found another bottle of glue (same type) that didn’t seem to have lumpy bits in it. And I had another spare jar…
This time I poured the glue, water and colour all straight into the jar, instead of mixing it up in another bowl. Less to clean up 😉 There were definitely less blobs(good!), but the colour was very faint (bad!). So a couple of days later I gave it another coat. This time I just used glue and food colouring, no water.

I tried to remember to turn the jar back up the right way sooner than last time, but again I didn’t time it right. Not using water meant it dried even faster…But the colour is better!

Still wouldn’t say this was a success! But I’d come this far, so I continued decorating. A much simpler design this time:


And you know what? I think they are a success after all! They are not perfect, but they do look lovely on the table.
What do you think? Got any spare jars that need a bit of prettying up?
* Find more of my craft projects here
* Linking up with Pin-n-Tell, Pin Junkie, Made From Pinterest, and A Tray of Bliss


